The Vicks Humidifier is a reliable device designed to add moisture to the air, relieving congestion and promoting comfort. Known for its filter-free design and large 1.2-gallon tank, it ensures continuous cool mist operation, making it ideal for dry environments and seasonal respiratory issues. Its user-friendly interface and energy-efficient features make it a popular choice for home and office use; Regular maintenance, such as cleaning and refilling, ensures optimal performance and longevity. Follow the guidelines to maximize its benefits and maintain a healthy indoor climate.
1.1 Overview of Vicks Humidifier Benefits
The Vicks Humidifier offers numerous benefits, including relief from dry air discomfort, improved respiratory health, and enhanced sleep quality. Its filter-free design ensures continuous cool mist operation, making it ideal for large rooms and dry environments. The 1.2-gallon tank provides extended runtime, while the energy-efficient system minimizes power consumption. Suitable for year-round use, it helps maintain a comfortable indoor climate, especially during colder months or seasonal allergies.
1.2 Importance of Proper Usage
Proper usage of the Vicks Humidifier ensures optimal performance and safety. Always fill the tank with clean, cool water and avoid using hot water to prevent damage. Regular cleaning and descaling are essential to maintain hygiene and prevent bacterial growth. Following the recommended guidelines for mist settings and placement helps avoid over-humidification, ensuring a balanced indoor environment and prolonging the device’s lifespan effectively and efficiently.

Unboxing and Initial Setup
Unbox the Vicks Humidifier carefully, ensuring all components are included. Place the base on a flat surface and attach the water tank securely following the setup guide.
2.1 Unpacking the Humidifier Components
When unboxing, carefully remove the humidifier base, water tank, and any included accessories. Ensure all parts are undamaged and account for all components listed in the manual. This includes the power cord, mist nozzle, and user guide. Properly organize each part to facilitate smooth assembly and setup. Always refer to the manual for specific component identification.
2.2 Assembling the Humidifier
Begin by placing the humidifier base on a flat surface. Align the water tank with the base, ensuring it clicks securely into place. Attach the mist nozzle to the top of the base, following the directional arrows. Gently twist until it locks. Ensure all parts are tightly connected for proper function. Refer to the manual for visual guidance to avoid misalignment. Assembly is straightforward and requires no tools.

Understanding the Humidifier Components
The Vicks Humidifier consists of a base, water tank, and mist nozzle. The base houses the motor, while the tank holds up to 1.2 gallons of water. The mist nozzle directs the output, ensuring even distribution. These components work together to maintain optimal humidity levels in your space.
3.1 Identifying Key Parts of the Humidifier
The Vicks Humidifier features a water tank, base unit, and mist nozzle. The tank holds up to 1.2 gallons of water, while the base contains the motor and control panel. The mist nozzle distributes the mist evenly. Additional components may include a filter (if applicable) and a cap for the water tank. These parts work together to ensure efficient operation and proper humidity levels.
3.2 Exploring the Control Panel Features
The control panel on the Vicks Humidifier includes a power button, mist adjustment controls, and LED indicators. Pressing the power button cycles through settings, such as continuous mist or timed operation. The mist control allows you to adjust output levels. Some models feature additional buttons for night mode or mist direction. These controls ensure easy operation and customization of humidity levels to suit your preferences.

Filling the Water Tank
Fill the tank with clean, cool tap water by twisting the cap to the unlock position. Avoid using hot water to prevent damage. Secure the cap tightly after filling to ensure proper function and mist output.
4.1 Steps to Fill the Water Tank Properly
Remove the water tank from the base and twist the cap to the unlock position.
Fill the tank with clean, cool tap water. Avoid using hot water.
Securely replace the cap by twisting it back to the locked position.
Ensure the tank is tightly sealed to prevent leakage.
Place the tank back on the base and check for proper alignment.
4.2 Guidelines for Using Distilled Water
Using distilled water in your Vicks humidifier is highly recommended to minimize mineral buildup and ensure clean mist output. Distilled water reduces the risk of bacteria and mold growth, maintaining the device’s efficiency. Regularly using distilled water also helps prevent white dust, ensuring a healthier environment. Always opt for distilled water for optimal performance and longevity of your humidifier.
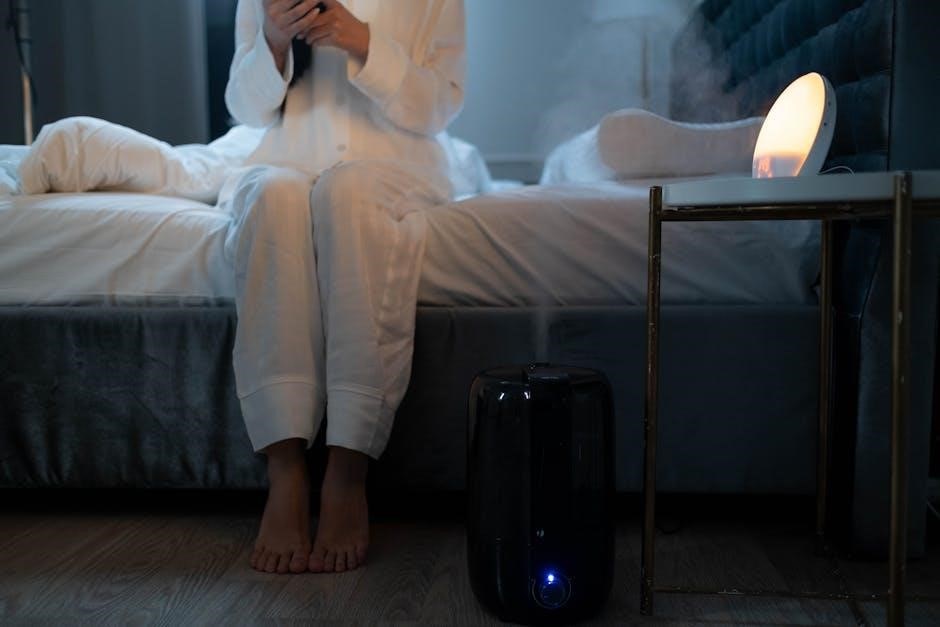
Powering On the Humidifier
Press the power button to activate the humidifier. Choose from continuous mist or adjust settings for personalized comfort. Ensure the water tank is filled properly.
5.1 Turning On the Humidifier
Press the power button to activate the humidifier. The LED light will illuminate, indicating it’s operational. Ensure the water tank is filled and securely locked to prevent leaks. Place the device on a flat surface and keep it out of children’s reach. The humidifier will start producing mist automatically, enhancing indoor air quality for comfort.
5.2 Adjusting the Mist Settings
Use the control panel to adjust mist output by selecting from low, medium, or high settings. Press the mist button to cycle through options. For energy efficiency, choose the lowest setting that maintains desired humidity. Adjust based on room size and moisture needs. Monitor mist levels to avoid over-humidification, ensuring optimal comfort and air quality.
Maintenance and Cleaning
Regular cleaning prevents mineral buildup and bacteria growth. Use distilled water to minimize residue. Empty and dry the tank daily to avoid mold. Clean humidifier parts weekly for optimal performance and hygiene.
6.1 Daily Cleaning Routine
For daily maintenance, empty the water tank and rinse it with clean water. Remove any visible mineral deposits using a soft cloth. Ensure all parts are dry to prevent mold growth. This routine helps maintain hygiene and prevents bacteria buildup, ensuring the humidifier operates efficiently and safely throughout the day, promoting a healthy environment for users.
6.2 Weekly Deep Cleaning Process
Once a week, mix 1 cup of white vinegar or bleach with 1 gallon of water. Soak all removable parts for 30 minutes to remove mineral deposits and bacteria. Scrub thoroughly with a soft brush, rinse with clean water, and dry completely. This deep cleaning prevents mold growth and ensures the humidifier remains hygienic and efficient, providing clean mist output consistently.

Replacing the Filter
Replace the filter every 1-3 months or when output decreases. Turn off and unplug the humidifier, then access the filter compartment. Remove the old filter, dispose of it properly, and insert the new one. Ensure it’s securely fitted, then wash your hands. This maintains efficiency and prevents bacterial growth.
7.1 When to Replace the Filter
Replace the filter every 1-3 months or when mist output decreases. Check for visible buildup, discoloration, or unpleasant odors. If the humidifier’s performance falters or emits less mist, it’s time to replace the filter. Ensure proper disposal of the old filter and wash hands afterward to maintain hygiene and efficiency.
7.2 Steps to Install a New Filter
Shut off and unplug the humidifier. Remove the tank and locate the filter housing. Take out the old filter and discard it. Insert the new filter, ensuring it fits securely. Reassemble the unit, replace the tank, and plug it in. Turn it on to check for proper mist flow. This ensures optimal performance and clean moisture output.

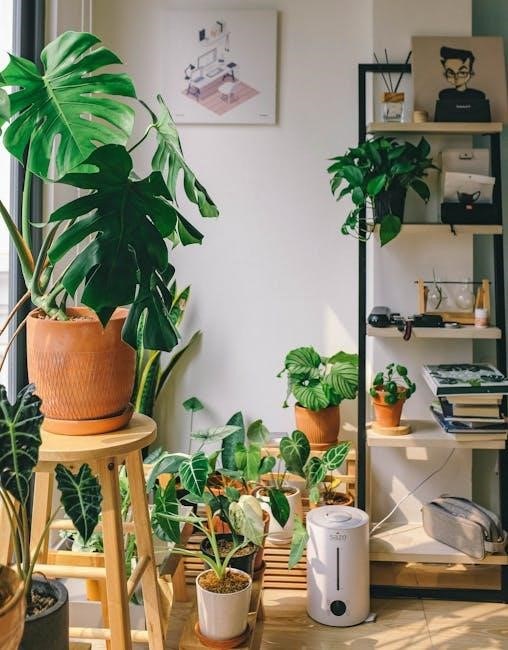
Humidifier Placement Tips
Place the humidifier on a stable, flat surface, away from direct sunlight and walls. Ensure it’s at least 12 inches from any furniture or carpets to prevent moisture damage.
8.1 Ideal Locations for the Humidifier
Place the Vicks Humidifier in a stable, flat area away from direct sunlight and walls. Ideal locations include bedrooms, living rooms, or nurseries, ensuring even mist distribution. Keep it at least 12 inches from furniture and carpets to avoid moisture damage. Avoid placing it near electrical outlets or in areas prone to water spills. Ensure it’s out of children’s and pets’ reach for safety.
8.2 Avoiding Common Placement Mistakes
Avoid placing the Vicks Humidifier near electrical outlets or in corners, as this can lead to uneven mist distribution and potential water damage. Do not position it on carpeted surfaces or near fabrics, as moisture accumulation may cause damage. Ensure it is not placed in direct sunlight or extreme temperatures, which can affect performance. Keep it away from windows to prevent condensation buildup.

Troubleshooting Common Issues
Identify and resolve issues like low mist output or leakage by checking water levels, ensuring proper assembly, and cleaning regularly. Maintain efficiency with consistent maintenance routines.
9.1 Resolving Low Mist Output
If the humidifier produces low mist, ensure the water tank is filled to the recommended level and the cap is securely tightened. Check for any blockages in the mist nozzle or nebulizer, as mineral buildup or debris can restrict airflow. Clean or replace these parts if necessary. Additionally, using distilled water can help maintain optimal performance and prevent clogs. Regular maintenance ensures consistent mist output and extends the device’s lifespan.
9.2 Fixing Leakage or Water Damage
To address leakage or water damage, first, ensure the water tank is properly aligned with the base and securely locked. Check for cracks or damage to the tank or hoses. If moisture accumulation is causing damage, reduce the mist output or use a hygrometer to maintain optimal humidity levels. Regularly cleaning the humidifier and ensuring all connections are tight can prevent leaks and prolong the device’s lifespan. Always unplug the unit before cleaning or repairing to avoid electrical hazards.
Safety Precautions
Always place the humidifier on a stable, flat surface and keep it out of children’s reach. Avoid over-humidification to prevent mold growth and ensure proper ventilation in the room. Regularly clean and maintain the device to prevent bacterial buildup. Never touch electrical parts with wet hands, and unplug the unit before cleaning or performing maintenance tasks. Follow the manufacturer’s guidelines to ensure safe and effective operation.
10.1 Using the Humidifier Around Children
Ensure the humidifier is placed out of children’s reach to prevent accidental knocks or tampering. Keep the surrounding area dry to avoid slips. Always supervise children when the device is in use. Teach them not to touch electrical parts or modify settings. Opt for cool mist to prevent burns. Regularly inspect for wear or damage to maintain safe operation.
10.2 Avoiding Over-Humidification
To prevent over-humidification, monitor indoor humidity levels using a hygrometer and adjust the mist output accordingly. Ideal indoor humidity ranges between 30-50%. Excess moisture can lead to mold growth and water damage. Regularly check for condensation on windows or walls, and reduce mist if observed. Maintain proper airflow by opening windows slightly if necessary. This ensures a balanced and healthy indoor environment while preventing potential issues.
Energy Efficiency Tips
Use a hygrometer to monitor humidity levels, ensuring the humidifier operates only when necessary. Regular cleaning and proper water level maintenance also enhance energy efficiency and performance.
11.1 Reducing Energy Consumption
To minimize energy use, ensure the humidifier operates only when necessary. Use a hygrometer to monitor humidity levels and avoid over-humidification. Turn off the device when the water tank is empty or when the room reaches optimal humidity. Adjusting the mist settings to match the room size and desired comfort level also helps conserve energy while maintaining efficiency.
11.2 Using a Hygrometer for Optimal Humidity
A hygrometer helps monitor indoor humidity levels, ensuring they remain between 30-50%. This prevents over-humidification, which can promote mold growth. By maintaining optimal moisture, the humidifier operates efficiently, enhancing comfort without wasting energy. Regularly checking the hygrometer ensures the device runs only when needed, balancing the air quality for healthier breathing and a more comfortable environment year-round.
The Vicks Humidifier offers reliable performance and ease of use, effectively improving indoor air quality. Regular maintenance ensures longevity and optimal functionality, making it a valuable investment for healthier living spaces.
12.1 Summary of Key Instructions
Properly assemble and fill the water tank with cool, clean water. Turn on the humidifier and adjust mist settings as needed. Regularly clean the device to prevent mineral buildup. Replace the filter when necessary for optimal performance. Place the humidifier on a flat surface and ensure good airflow. Monitor humidity levels to avoid over-humidification. Follow these steps for efficient and safe operation.
12.2 Final Tips for Long-Term Usage
For prolonged performance, clean the humidifier daily and perform deep cleaning weekly. Use distilled water to minimize mineral buildup. Replace filters as recommended to maintain efficiency. Ensure proper placement on a flat surface and avoid over-humidification. Regularly check and maintain water levels to prevent damage. By following these tips, you can extend the lifespan of your Vicks Humidifier and enjoy consistent, reliable operation year-round.